
Best Nail Art Designs for Beginners
Start With the Basics
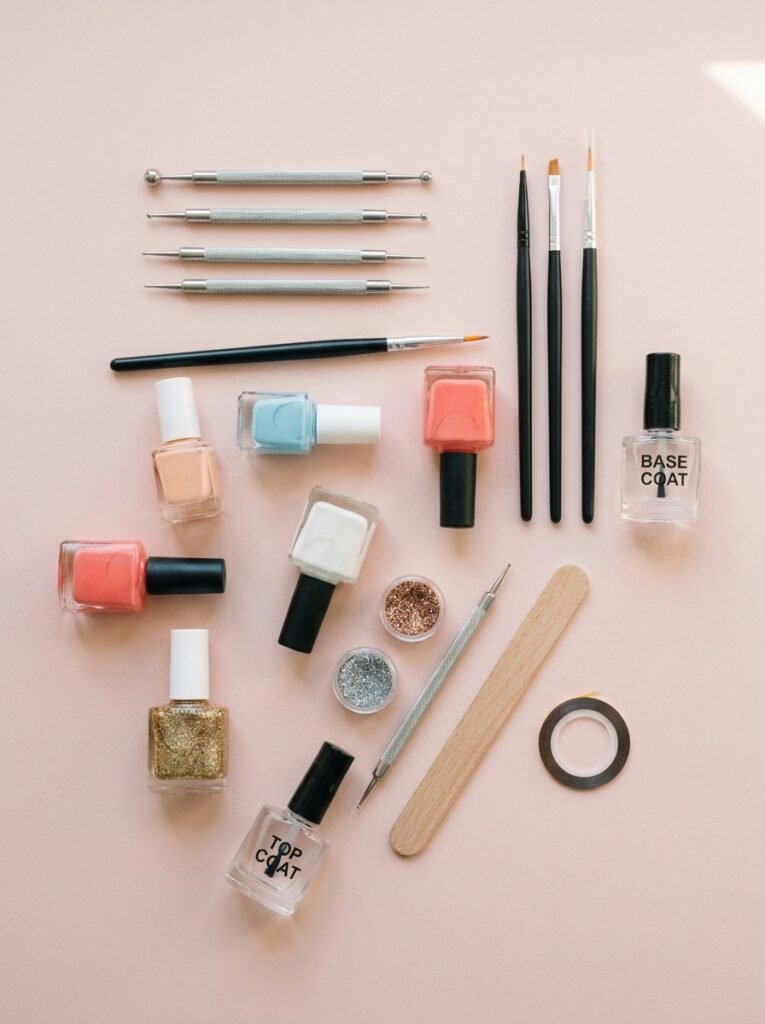
Most beginner manicures fail before any design goes on. Polish struggles to bond with a nail plate carrying natural oil or hand cream residue, and it lifts within a day or two.
Wiping each nail with rubbing alcohol on a lint-free pad immediately before the base coat solves this, and it takes about twenty seconds for a full hand. Filing deserves the same care. Moving the file in one direction rather than sawing back and forth keeps the layers at the free edge from separating.
Coat thickness does the rest. Two thin layers dry faster and chip later than one thick one, because a thick coat cures on the surface while staying soft underneath and dents at the slightest pressure.
Labels are worth a glance, particularly for anyone reacting to a product. The US Food and Drug Administration notes that cosmetic products and ingredients other than most colour additives do not require FDA approval before going on sale, and that acrylates used in artificial nails and some polishes can trigger allergic reactions. Reading the ingredient list is the only reliable way to track what caused a problem.
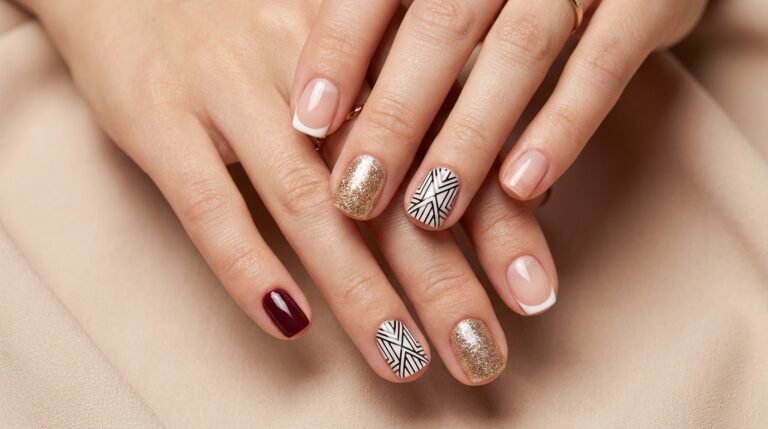
Classic French Tips
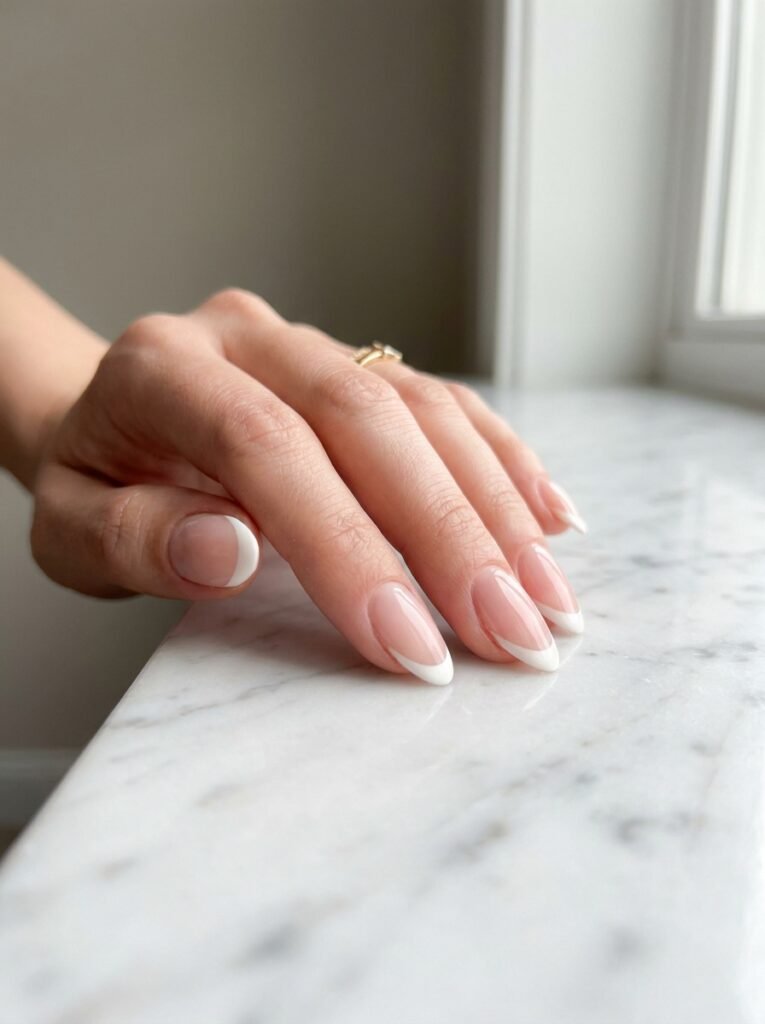
The smile line is the whole difficulty, and most beginners approach it backwards. Drawing the curve downward from the centre produces two mismatched halves, because the second half has to guess at the angle the first one set.
Starting at one side wall and sweeping across in a single arc works far better. The brush stays at a constant angle, and the curve comes from the wrist rather than from the fingertips. A second stroke from the opposite side then meets it cleanly.
French tips also wear out first at the very edge of the nail, since that edge takes constant contact. Running the top coat along the underside of the free edge seals it and buys several extra days.
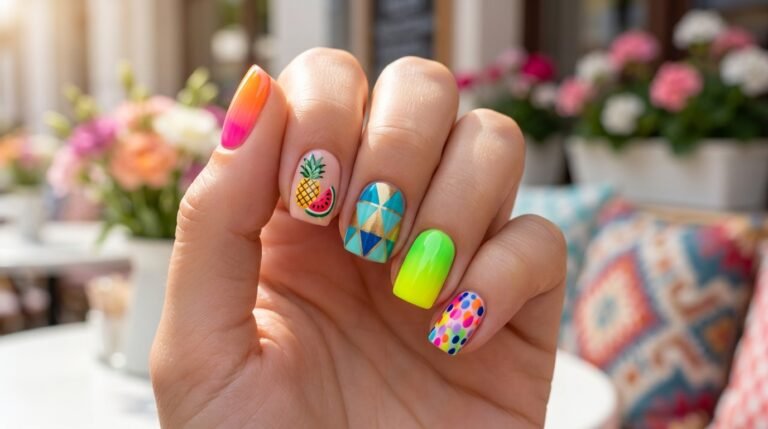
Simple Polka Dots

Polish consistency controls the shape of a dot more than the tool does. Slightly thickened polish, from a bottle that has been open a while, sits up in a rounded dome. Fresh, thin polish spreads out flat and loses its edges.
Reloading between every dot keeps a set uniform. A single load produces a large first dot and progressively smaller ones after it, which reads as inconsistency across ten nails.
That fading can also be used on purpose. Loading once and placing four or five dots in a row gives a naturally graduated line, from large at one end to tiny at the other, with no measuring involved.
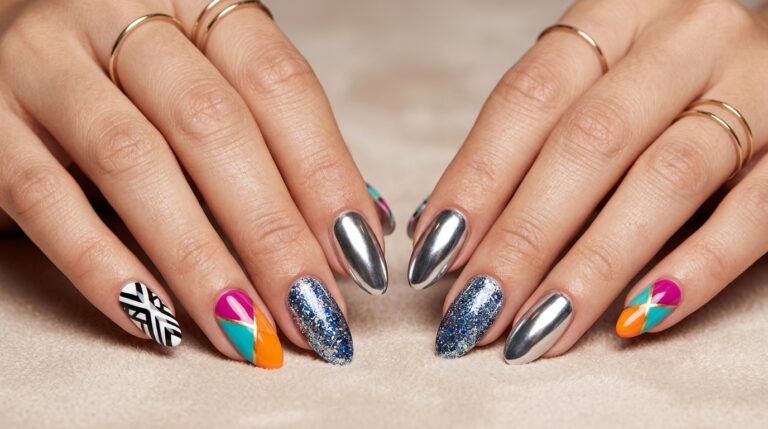
Easy Color Blocking
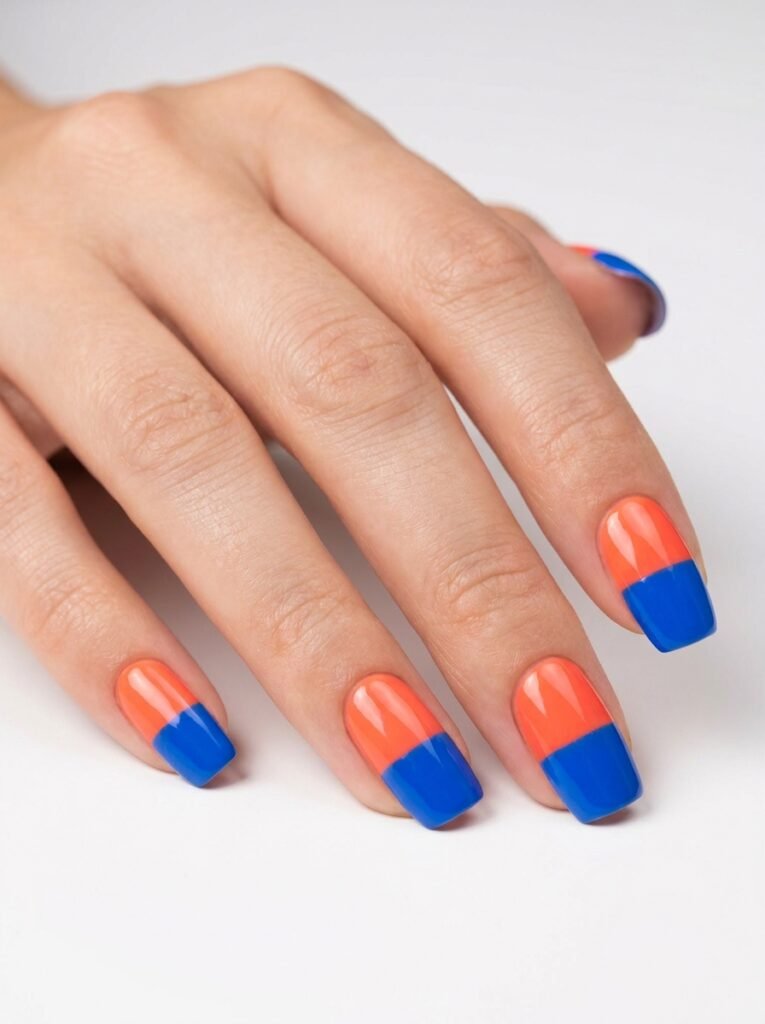
Timing decides whether tape helps or ruins the manicure. Tape applied to touch-dry polish lifts the base layer off with it. The first colour needs to be fully hardened, which takes considerably longer than it feels like it should, so a wait of at least an hour is sensible.
Removal has its own rule. Peeling the tape while the second colour is still wet gives the sharpest edge, since dried polish tears rather than releasing. Pulling outward at a low angle, away from the painted side, keeps the line clean.
Painting the lighter shade first also helps. A pale colour laid over a dark one needs several coats to cover, and every extra layer thickens the ridge at the join.
Cute Accent Nails
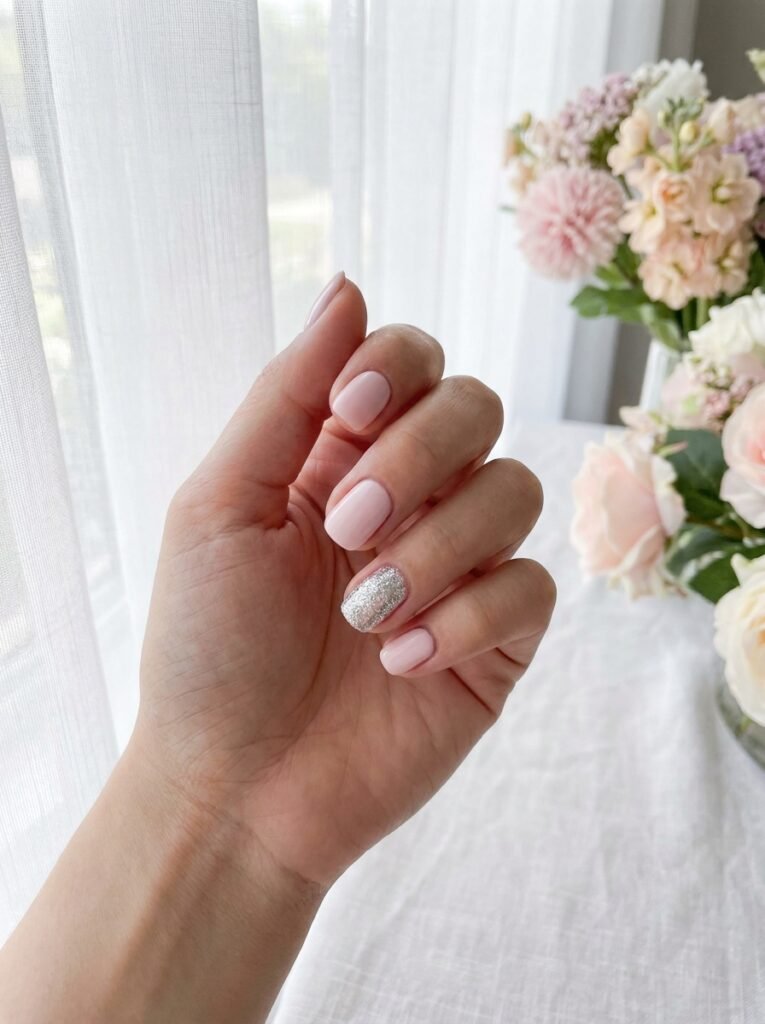
An accent nail works when it belongs to the set. Sharing a colour family with the other nine, or repeating the same shade in a different finish, keeps the accent looking chosen. An unrelated colour simply looks like one nail was painted on a different day.
Which nail to pick is worth a moment’s thought rather than habit. A hand at rest, holding a cup or resting on a table, presents some nails more than others, and an accent placed where it is rarely visible does little work.
Two accents, spaced apart across the hand, balance better than one when both hands are seen together. Short nails handle this especially well, and this collection of short nail designs covers what suits a smaller canvas.
Glitter Gradient
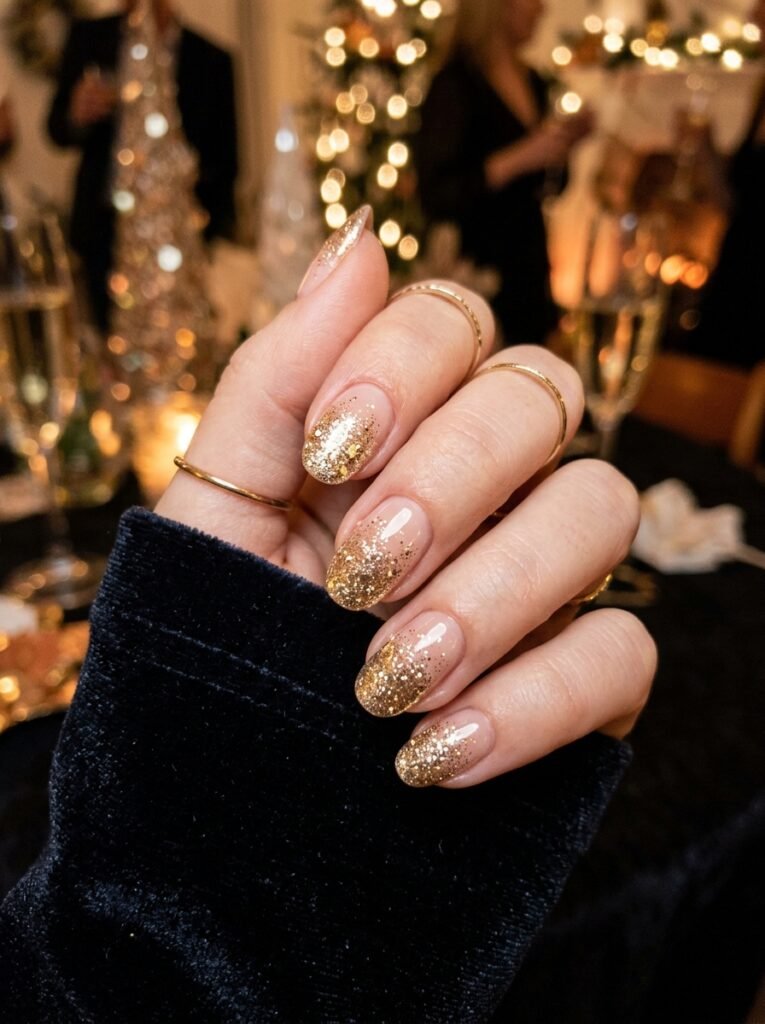
Glitter polish is particles suspended in a clear carrier, which changes how it should be applied. Brushing spreads the carrier and drags the particles along with it. Dabbing the brush leaves them where they land, which is what builds a gradient.
Concentration should increase gradually toward the tip across two or three light passes. A single heavy pass deposits everything at once and produces a hard edge rather than a fade.
Removal is the part nobody warns about. Glitter resists ordinary wiping, and scrubbing at it damages the nail surface. A peel-off base coat underneath, or a remover-soaked cotton pad held in place with foil for a few minutes, avoids the problem entirely.
Simple Floral Designs
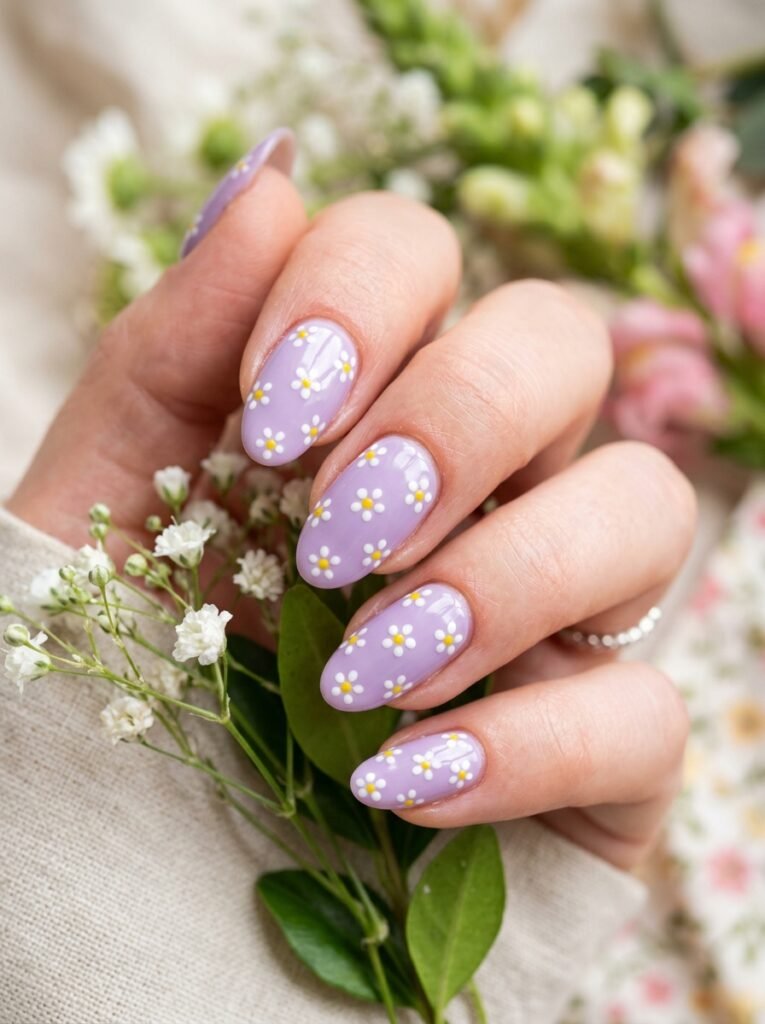
Five dots arranged in a ring make a flower, and letting those dots touch slightly makes a better one. Petals with visible gaps between them read as five separate dots rather than as a single bloom.
The centre goes on while the petals are still wet. Placed on dry petals it sits proud of the surface as an obvious sixth dot, whereas a wet placement sinks in and the whole shape flattens into one flower.
Dragging turns dots into petals. A needle pulled from the outer edge of each dot toward the centre, immediately after placing it, gives a teardrop shape and a considerably more convincing flower.
Negative Space Nails

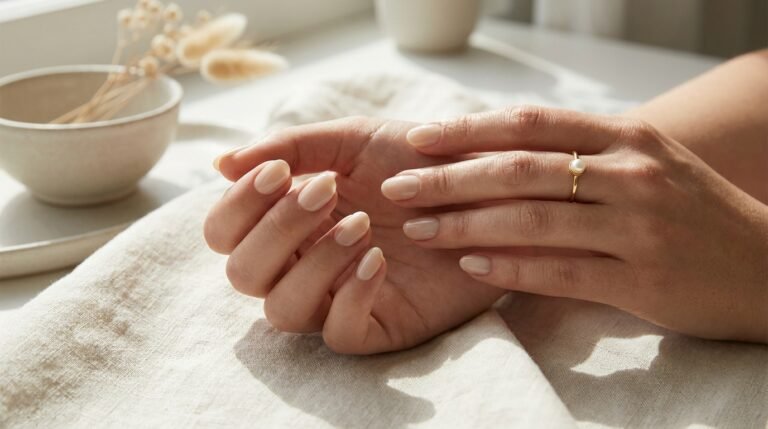
The bare portion still needs covering. A clear coat over the exposed nail protects it and, more visibly, keeps it from yellowing or dulling beside the polished section, which is what makes an unpainted area look accidental rather than designed.
Shape choice matters more than precision. A negative space area that follows the nail’s own geometry, curving parallel to the cuticle or echoing the free edge, looks deliberate even if the edges wobble slightly. A shape cutting across those lines needs to be perfect to work at all.
Painting up to a taped boundary is easier than painting around an imagined one. More variations on this approach appear in this guide to minimalist nail designs for an elegant look.
Striped Nails
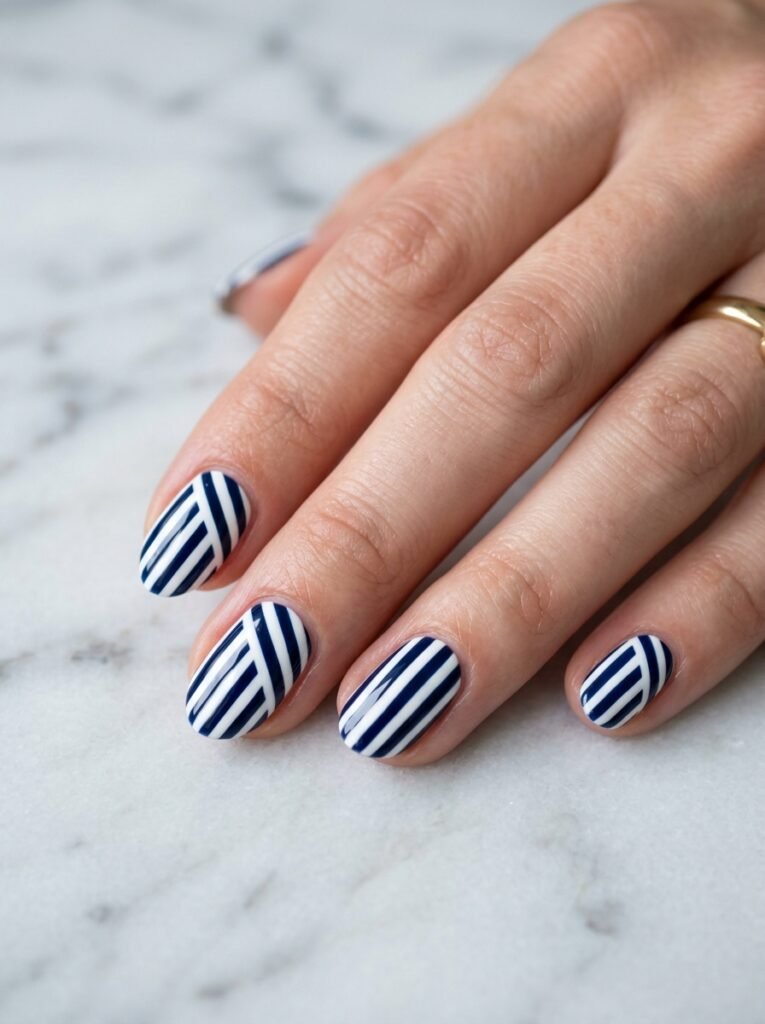
A striping brush wants one continuous stroke. Loading it, setting it down, and pulling in a single movement produces an even line. Stopping halfway to reposition leaves a blob at the pause point that cannot be tidied afterwards.
Direction of travel matters too. Dragging the brush behind the hand keeps the bristles trailing and the line thin, while pushing it splays the bristles and widens the stroke unpredictably.
Stripes also expose any ridges running along the nail plate, since a straight line makes an uneven surface obvious. A ridge-filling base coat flattens the canvas first and is worth having for this design specifically.
Ombre Nails

An opaque base layer comes first, and skipping it is why most sponged ombres look muddy. Sponging directly onto bare nail lets the natural colour show through the thin, uneven deposit, and both shades read as weaker versions of themselves.
The sponge should be dabbed straight down in the same position several times, not rolled or wiped. Rolling smears the boundary into a single mixed shade instead of blending two.
The finish will look stippled and matte at this stage, which alarms people unnecessarily. Two coats of top coat fill that texture and the gradient smooths out completely.
Simple Heart Designs
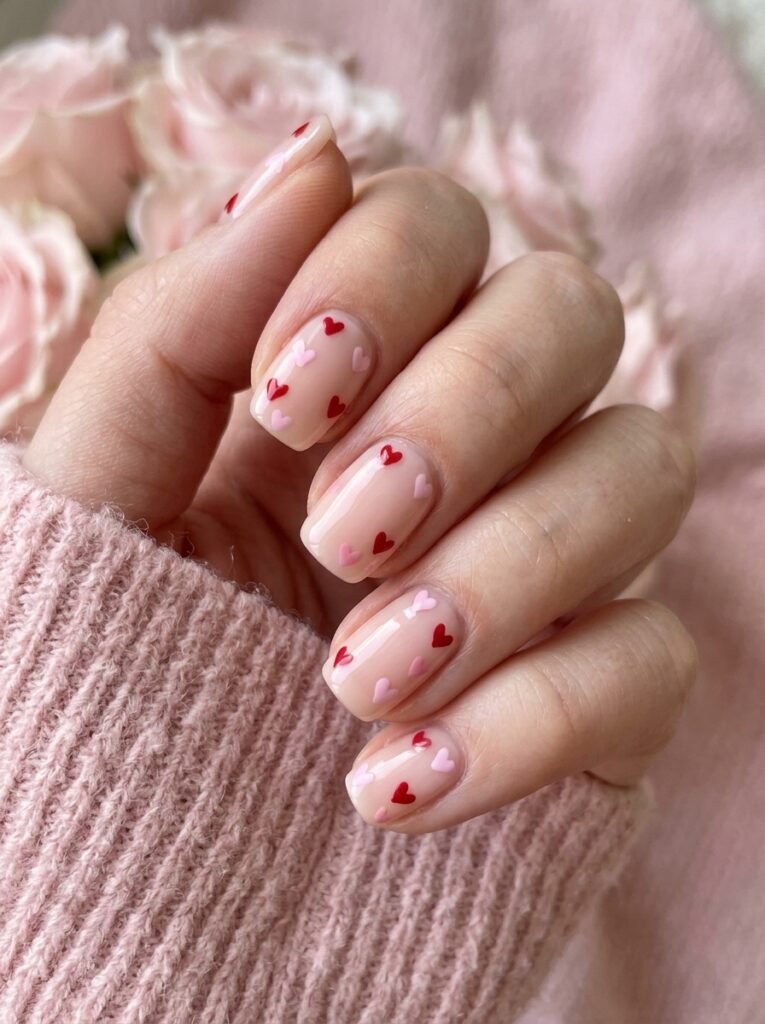
Two dots side by side, dragged together at the bottom into a point, produce a heart. The catch is the window: the drag has to happen within a few seconds, while both dots are still fully wet, or the polish tears instead of flowing.
A needle outperforms a dotting tool for the drag. The finer point pulls a sharper tip, where a rounded tool leaves the bottom blunt and the shape reads as a blob.
Placement affects how grown-up the result looks. A small heart set off-centre near the cuticle reads as a detail, while a large one centred on the nail reads as a motif, which is a different intention altogether.
Marble Nails
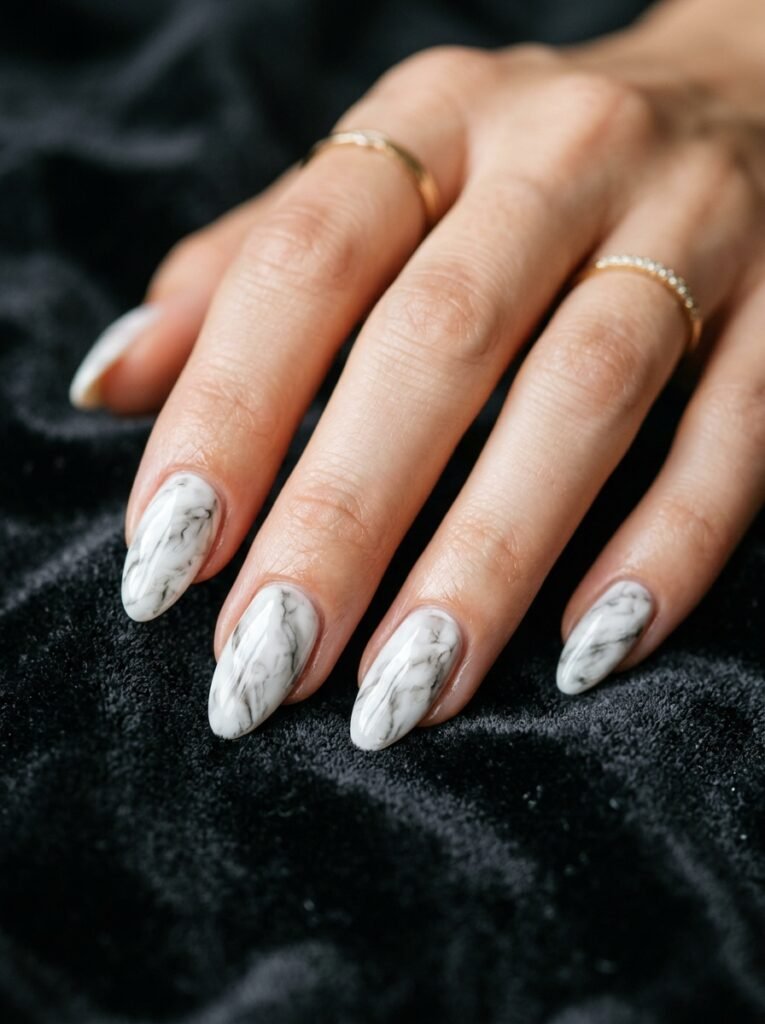
Marbling only works while both polishes are wet, which means working one nail from start to finish before moving to the next. Painting all ten base coats first guarantees that the first several have set by the time the veining begins.
A needle drags finer veins than a brush and gives the irregular thickness that real stone has. Pulling in several different directions, rather than parallel strokes, keeps the pattern from looking combed.
Restraint separates marble from mud. Three or four drags is usually the limit, because every additional pass mixes the two colours further, and past a certain point they blend into one grey rather than reading as veining.
Final Thoughts
A pattern runs through nearly all of these. The technique that matters is usually about timing rather than artistry: whether the polish underneath has hardened, whether the layer on top is still wet, how many seconds remain before a drag stops working.
That is encouraging for anyone who considers themselves unable to draw. Dots, stripes, and marbling all reward patience over a steady hand, and patience improves faster than dexterity does.
Practising on a sheet of paper or a set of cheap false nails costs almost nothing and removes the pressure of getting it right on the tenth finger at eleven at night.
Frequently Asked Questions
Which design should a complete beginner start with?
Dots, then a glitter gradient. Neither depends on a straight line or a steady hand, and both forgive small irregularities. Stripes and French tips need more control and are better attempted second.
Why does polish lift after a day?
Usually because the nail plate still carried oil when the base coat went on. Wiping each nail with rubbing alcohol immediately beforehand removes it. Coats applied too thickly are the other common cause, since they stay soft underneath.
When should tape be applied and removed?
Applied only to fully hardened polish, which takes longer than it feels like it should, and removed while the top colour is still wet. Reversing either step tears the line rather than leaving a clean edge.
How do smudges get tidied up?
A flat brush dipped in remover, run along the skin beside the nail, cleans the edges without touching the design. Doing this before the top coat goes on works better than after, since the top coat locks any mistake in place.
Is expensive polish necessary?
No. Brush quality and pigment load vary more than price suggests, and a slightly thickened budget polish often makes better dots than a fresh premium one. The one worthwhile investment is a top coat that dries hard rather than tacky.