
Bold and Beautiful Nail Art to Make a Statement
Bold designs put more material on the nail than plain colour does. Two shades meeting, a design layer, embellishments, and enough top coat to level everything.
That extra thickness is where nearly every failure comes from. Bubbling, denting, chipped edges, bleeding colours, gems that ping off on day two. All of it traces back to how the layers stack.
Each idea below covers the look and the build. Bold and beautiful nail art holds up when the layers underneath are thinner and harder than most people make them.
Vibrant Color Blocking

Two colours meeting edge to edge create a join, and any difference in thickness shows there as a visible step.
Matching the coat count across both sections prevents it. Two coats of each keeps the surface level. Two of one and three of the other builds a ridge that catches light.
Highly pigmented colours help here for the same reason. A shade covering in two coats keeps the total build low. The finished nail then stays thin enough to resist denting.
Dramatic Dark Shades

Dark polish reflects rather than diffuses, which turns the nail into a small mirror. Ridges, dust, and brush marks all show that would vanish under a pale shade.
Dark colours also read as thicker than they are. Two thin coats give better depth than one heavy one. The heavy version stays soft underneath and dents for hours.
Chips announce themselves against dark colour. Running the brush along the free edge seals that tip and buys several extra days before the first one appears.
Eye Catching Metallics

Metallic pigment sits in flakes rather than dissolving, and those flakes need to lie flat. Dragging the brush back over a drying coat tips them and produces streaks that no top coat hides.
One direction, one pass, no going back. That single habit accounts for most of the difference between a smooth metallic and a streaky one.
True chrome powder is a different product entirely. It rubs onto a cured, no-wipe gel top coat and will not adhere to regular polish. That catches out plenty of people buying the powder alone.
Bold Geometric Designs

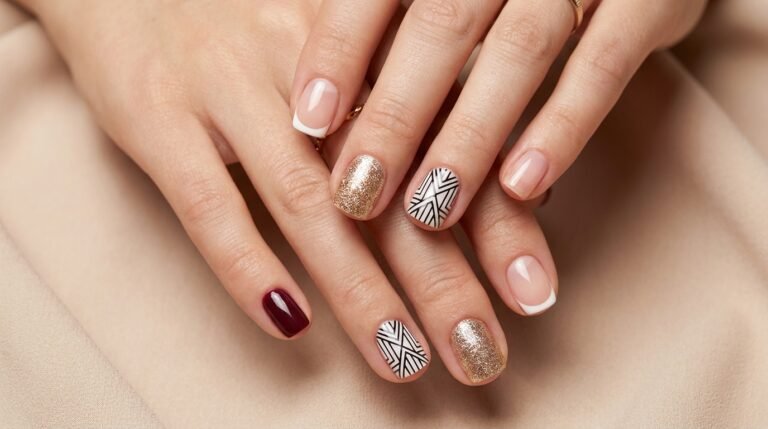
Every intersection adds thickness. Three lines crossing in one spot means three layers stacked there, and that point becomes the first thing to chip.
Fewer elements therefore last longer. Two or three shapes per nail deliver the graphic effect without building a lump where they meet.
Base thickness matters more than the design. Tape lifts thick, soft polish straight off the nail. The base must be thin and genuinely hard before any tape touches it.
Striking Animal Prints

Leopard print goes wrong when the spots are solid. Real markings form open rings. Each one wants a lighter centre with two or three short dark arcs around it, never a closed circle.
Irregularity is the other half. Spots of identical size at even spacing read as polka dots. Varying both the scale and the gaps makes it recognisable.
Snake print works on the opposite principle. Regular repeating scales in two close tones give the effect. A small triangular sponge dabs them faster than drawing each one.
Neon Brights

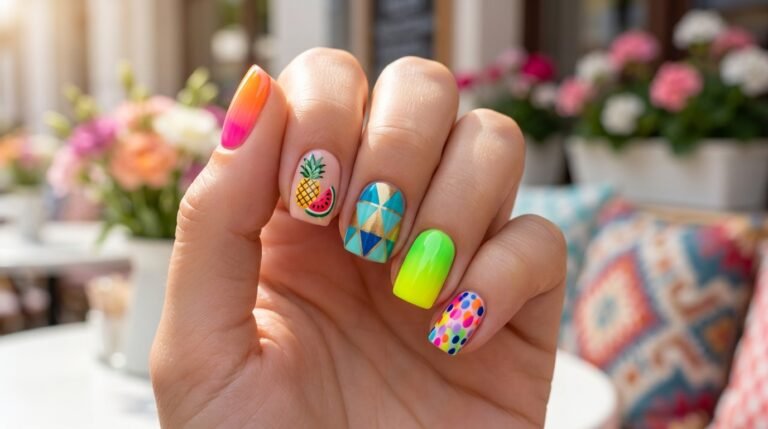
Neon pigment is translucent by nature, which is why neons look patchy and dull straight from the bottle. They need something bright underneath to bounce light back through them.
An opaque white base solves it in one coat. Applied over bare nail, the same neon needs four or five coats and still reads muted. All that thickness builds up for nothing.
Neons also finish slightly matte. A glossy top coat is not optional here. Without one, even a perfectly applied neon looks chalky rather than electric.
Glitter and Sparkle

Glitter leaves a surface full of raised edges, and those edges snag on hair, tights, and jumper sleeves.
Levelling takes more top coat than people expect. The first coat sinks between the particles and disappears. A second, and often a third, produces the smooth finish.
All that build makes removal the other consideration. A peel-off base coat underneath saves a long soak later. It has to go on before the glitter, though, not after.
Abstract Art Designs

Three colours is the practical ceiling. Wet colours blend wherever they touch, and a fourth almost always produces a muddy brown somewhere on the nail.
Choosing shades that sit near each other on the colour wheel avoids that entirely. Blues and greens blend into more blue-green, while a red meeting a green makes mud on contact.
The design layer needs to stay thin. Thick freehand strokes leave ridges that show straight through the top coat. A lightly loaded brush beats a generously loaded one.
Bold French Tip Twists

A coloured tip creates a ledge where the extra layer begins. On a traditional nude French nobody notices, because the colours are close. A bright tip makes that edge obvious.
Keeping the tip to a single well-pigmented coat minimises the step. Two coats of a weak colour builds twice the ledge for the same result.
A top coat over the whole nail finishes the job. It bridges the transition and turns a visible edge into a smooth surface.
Striking Ombre Nails

Colour choice decides whether an ombre reads bold or dirty. The two shades mix in the blend zone, so opposite colours produce grey or brown exactly where the eye looks.
Neighbours on the wheel avoid it. Pink into orange, blue into purple, and yellow into green all blend into something that still belongs to the design.
Sponging also deposits the thickest, most textured layer of any technique here. Ombre therefore needs more top coat than anything else on this list to level out.
Embellished Statement Nails

Gems need setting into a wet layer rather than glued onto a dry one. Pressed into fresh top coat, the polish rises slightly around the base and grips as it hardens.
Placement decides survival. Anything near the free edge catches on pockets and door handles. The middle of the nail is where embellishments last.
Gel and acrylic products deserve a word of caution. The British Association of Dermatologists has warned about methacrylate chemicals in these products. It describes a contact allergy epidemic, with sensitisation occurring when uncured product touches skin. Curing fully and keeping product off the surrounding skin both matter.
Mix and Match Designs

Ten different designs need one thing in common or the hand reads as chaos. A single colour appearing somewhere on every nail is the simplest way to supply it.
A shared finish works equally well. All matte or all high gloss ties the set together even when every pattern differs.
Wear rate varies across the hand, which is worth planning around. Index fingers and thumbs take the most knocks. The busiest, thickest designs therefore last longer on the ring and little fingers.
Final Thoughts
One idea connects all twelve. Bold designs stack layers, and total thickness is what decides how long the result survives.
That explains the recurring advice. Well-pigmented colours cover in fewer coats. Matched coat counts avoid ridges. Fewer intersections mean fewer stacked points. A white base under neon replaces four weak coats with one strong one.
Bold and beautiful nail art therefore rewards restraint in an unexpected place. The design can be as loud as anyone likes, provided the layers underneath stay thin.
Frequently Asked Questions
What nail art makes the boldest statement?
Neon over a white base and metallic chrome read loudest. Each one maximises how much light comes back off the nail. Embellishments add physical dimension, though they need setting into wet polish to stay put.
Can I do bold nail art at home?
Most of it, yes. Dark shades, colour blocking, and leopard print need no special tools. True chrome is the exception, since the powder only adheres to a cured no-wipe gel top coat.
How do I make my bold nails last longer?
Keep the total build thin. Fewer, better-pigmented coats resist denting, and capping the free edge with each layer delays chipping. Thick manicures stay soft underneath long after the surface feels dry.
What tools do I need for statement nails?
Nail tape, a dotting tool, a fine liner brush, and a makeup sponge cover every design here. A peel-off base coat is worth adding before any glitter, since removal is the harder half of that look.
Are dark nails a bold choice?
Yes, and an unforgiving one. Dark polish reflects rather than diffuses. Ridges, dust, and brush marks all show up that a pale shade would hide. Two thin coats work better than one thick one.